

If you thought microblading was a one-size-fits-all treatment done by artists who all use the same tools, we are here to set the record straight!
There is a huge amount of variation when it comes to these precision instruments that are destined to make your brows look fabulous.
Not only are there different shapes, configurations, and bases. There is another whole discussion you can have about needle size and taper too.
This article will help anyone interested in learning more about microblades and what each type is best suited for in the pursuit of brow perfection.
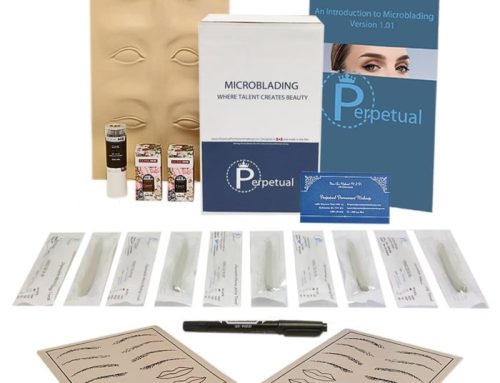
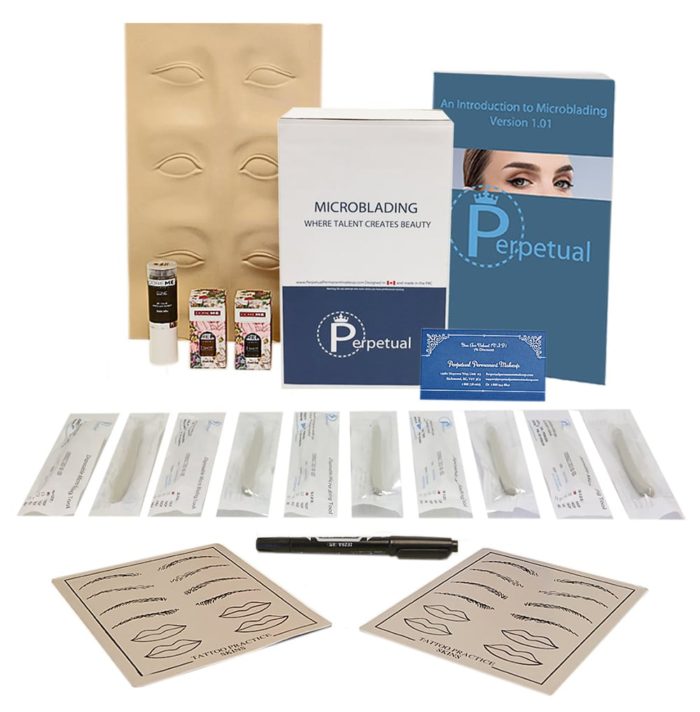
See Perpetual Permanent Makeup’s Microblading Selection
Needle Configuration
The configuration of a microblade is the one aspect that has a great deal of variation. Artists use their own personal mix of these blades to create their works of brow genius.
Here we will break down the most popular shapes and what they do.
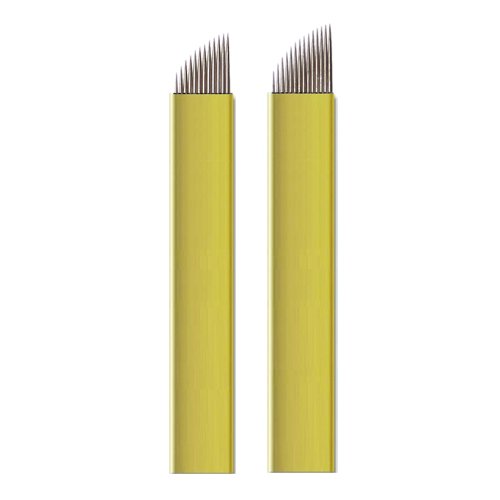 CURVED FLAT ( or ROUND FLAT)
Curved flat blades are responsible for the lion’s share of the workload when it comes to microblading. The individual needles, also known as pins, are in an angle formation with a short pin at one end and gradually get taller to the opposite end.
These blades are the real workhorses in a microblading session. Every pin in the blade touches the skin at the same time and creates beautiful strokes that replicate real brow hairs that give this treatment such winning results.
CF blades are used in various pin lengths and form the majority of the fill work. The number of pins used for a blade determines the length of the stroke, so the artist will use different sizes on different areas of the brow.
The flexible or soft based version of this type of blade is the absolute best for beginners and are the most forgiving. More on the differences between base types further on.
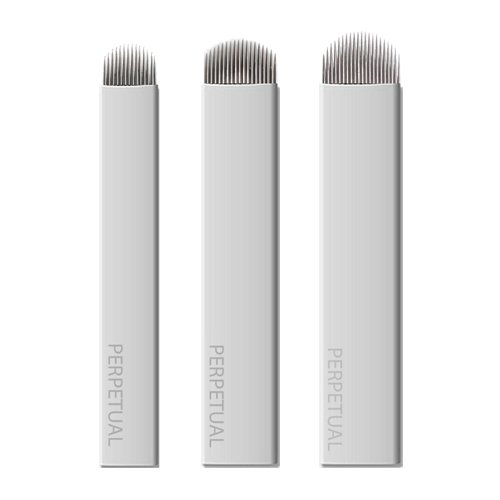 U-SHAPED
As the name suggests, U-shaped blades are in a configuration whereby the pins at each end of the blade are the shortest and very close to the base. The pins get progressive taller from each until the middle where the blade length peaks in a gently rounded shape that looks parabolic.
At no time can an entire U-shaped blade touch the skin surface at once. The artist must use their skill and preferred technique resulting in a very curved stroke placement. They are for experienced artists only as their shape has the potential to go outside the desired shape line or make strokes that are too long.
They are popular for creating bulb strokes (the thickest part of the brow closest to your nose), curved baby strokes and for etching techniques.
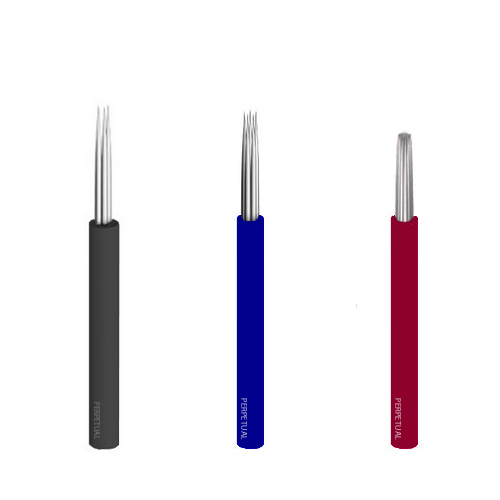 ROUND SHADER
These blade configurations are formed by “bundling” pins of the same length together (the same way you would grasp a bunch of dry spaghetti) and set into the base in a round shape.
Much like the artistic style of “pointillism”, the round shader achieves its desired effect by making fill and increases shade density with ease. It allows for rapid, consistent coverage.
Using a larger number is best saved for larger areas and is also used extensively for powder, ombré and 3D “hybrid” type brows. A smaller number with fewer pins is excellent for thinner brows and filling the tail.
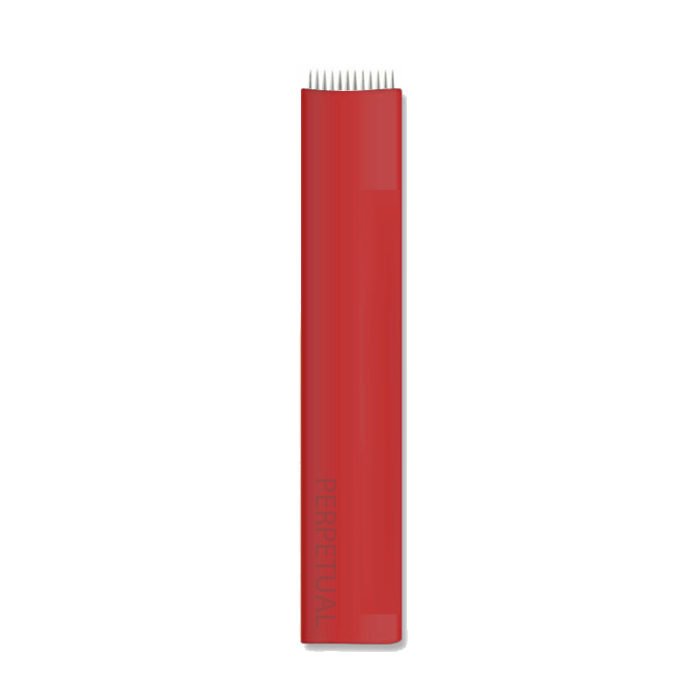
FLAT SHADER
All needles are the same height and are helpful when shading outlines as well as for narrower parts of the brow like the tail and for filling thinner areas in-between larger fuller strokes in other areas of the brow. The flat shader is also an option for ombré shading.
These shaders may be found in single and double row configurations, with double used for larger coverage.
Base: Hard vs. Soft Explained
SOFT or FLEXIBLE BASES
For most beginners just starting the sensible choice is to use soft or flexible microblading needle bases. Why is this the case?
Artists need to moderate the amount of pressure when applying the microblade to the client’s skin. This is a skill that takes time and practice. Skin provides “resistance” to the action of the blade penetrating the epidermis and beyond to allow pigment to be deposited.
To break into the skin the blade is angled 90 degrees and pressure is applied. But it is important to distinguish that different skin types and thicknesses exist and therefore need to be treated accordingly. One technique and type of pressure does not fit all.
The age of a client can also be a factor as older skin tends to be thinner and the ideal depth for pigment deposit will be shallower.
This type of soft flexible base is made of plastic and means that there is some give and pressure absorption that yields a safety net from the needles going too deep. They can be less steady in hand, but they can help minimize excessive pigment application.
Generally speaking, all microblading artists will use soft blades and have them in their kit as they are not just for beginners. Experienced artists will also use these whenever drier and thinner skin types are in the chair.
See: 7-19 Flexible Soft Microblades: Curved Flat and 14-21 Flexible Soft Microblades: U Shaped
.
.
 HARD BASES
On the other side of the coin, you have hard bases fashioned from aluminum which provide no flex and are static. This also means that they are less forgiving in the hands of a beginner and should only be used once enough experience is gained on soft bases.
It can be much easier to go too deep using hard based blades so precaution and practice should be the order of the day before transitioning to using these.
The benefit of these bases is that they are well suited to oilier, thicker skin types that do require a deeper pigment deposition level. They are also steady for precise detailing.
.
.
.
What About Blade Length?
Just like an artist working with paint, a microblading artist needs a kit that incorporates different blade shapes but also sizes. It might seem obvious that smaller blades are used for finer detailing and larger blades for fuller, sweeping strokes.
If you are choosing your kit for the first time then these are some considerations to take into account to ensure you have a well-rounded selection.
7-9 pins: Create short fine strokes, and are particularly useful for touch up appointments and for using in-between longer strokes to break up uniformity for a natural look.
10-13 pins: The most common medium stroke lengths with size 12 being an almost universally flattering length for most client tastes. Medium length hairs and the sizes most artists reach for time and time again.
14-17 pins: For longer hair strokes, outline development, and filling in fuller brow shapes.
18-21 pins: These are the big guns, the ones for the longest follicular lengths. These should be used with caution for beginners. Once again their size can be problematic if in inexperienced hands and can colour “outside the lines” if proper care is not taken.
This overview should help you understand the nuances of blade types and the need for variety in order to achieve arch perfection if you decide to build your own kit.
This post was very informative! I am a permanent makeup artist working with nano needle and had been very curious about microblading and what tools are used in the process of the procedure. This portion “The number of pins used for a blade determines the length of the stroke, so the artist will use different sizes on different areas of the brow” gave me a clear picture of the microblading process
Great information ! It’s what i was asking for
I am a permanent makeup fan because it helps me lessen my beauty routine hours. Thank you for sharing this exciting content! Great work!
Our group of expert professionals understands that a skillful recuperating touch, sustaining the environment, yoga, work out, massage, rub, great sustenance, and deep relaxation are the essential elements in keeping up wellness in body, brain, and soul.For more information visit:http://www.prorichlook.in/
Great information! Some of my clients is asking questions about the blade being use during a Microblading Session, I’ll definitely share this link to them, thank you for sharing!