

When it comes to permanent makeup and tattooing, safety should be your number one priority. Aiming to keep you and your clients healthy is essential, and keeping your studio in good condition is vital, too.
To help you out with your setup and breakdown process as a permanent makeup artist, we have put together a guide to the best permanent makeup safety, sterilization and cleanup techniques that you need to know about for 2021. We hope you find this article useful as you head into the New Year.
How to Properly Set Up a Permanent Makeup Station
Lets start off by examining how to properly set up your permanent makeup station. While every studio will have different routines, desired products and procedures that they follow, it can be handy to see how other artists work.
In order to make the process simpler, we tend to work with 3 main categories (high, medium, low) when it comes to supplies and equipment.
It is essential to differentiate between categories when setting up a station, so you can organize where the equipment is going and properly prepare for the breakdown process that will come at the end of the session.
High.
The high category refers to any supplies or equipment that directly puncture the skin during the permanent makeup process. These include
- Reusable handles for micro blading tools
- Micro blade needles
- Single-use micro blade pens
- Needle cartridges
Medium.
The medium category refers to any supplies or equipment that come into contact with bodily fluids or non-intact skin. The important distinction here is that these tools do not puncture or penetrate the skin. These include:
- Machine holders
- Kidney trays
- Medical trays
- Pigment cup holders
- Power supplies
- Clip-cord sleeve covers
- Tweezers
- Wrapped bottles
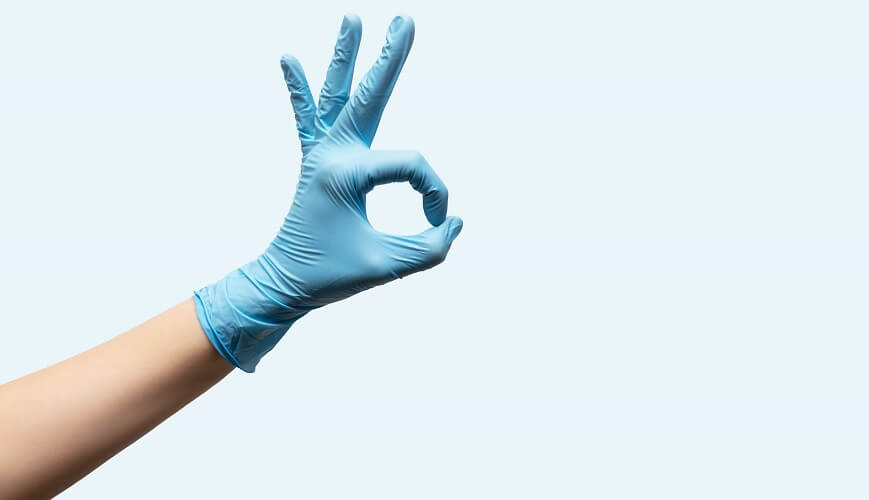
- Disposable gloves
- Eyebrow razors
- Non-woven squares and cotton swabs
- Pigment rings and cups
- Mascara wands
- Flocked applicators
- Medicine cups
- Micro brushes
It is important to emphasize how barrier films and wraps should be used for any potentially touched surfaces during treatment. For example, make sure to wrap your light appropriately so you can adjust it if needed.
Low.
The low category refers to supplies and equipment that only touch intact skin or a client’s hair during the permanent makeup process. These include:
- Art pencils and markers
- Brow scissors
- Calipers
- Mapping tools
- Wrapped tables and stools
- Gloves
- Alcohol pads and swabs
- Mapping string
- Ruler stickers
- Drape sheets
It’s essential to note that these products should not be present on your treatment tray when you are working with a client, and you should always re-glove and sanitize your equipment wherever appropriate.
Wrapping and Sanitization
Now that we’ve established which order your items should be categorized in, the importance of wrapping and sanitizing and which items you may need, let’s take a quick look at what should be done to set up.
It is good to differentiate between your pre-treatment tray and your treatment tray, so that you know what you will need to focus on cleaning and wrapping first.
Try to plan ahead of time and get to grips with what your session will call for, to prevent having to take your gloves off to start again.
One of the most important things you can do to make your setup process smoother is to have a good amount of cleaning products to hand. Check out our sterilization product category here to see what we have on offer.
How to Effectively Tear Down a Permanent Makeup Station
Now that we’ve covered exactly how to start up your permanent makeup session, it is important to go over how we would recommend breaking down a station, too.
Of course, every artist and studio will be using different techniques and products- but reviewing the work of your peers can be incredibly helpful. This is a method that we’d recommend based on our experience in the industry and our own research.
One of the most important things that we’d recommend doing to break down your section is to differentiate between the types of disinfectant that you need to work with. There are different types of disinfectant, for example, a strong surface disinfectant like Cavicide vs a quick general disinfectant like isopropyl (rubbing alcohol). Each can be used for different things and situations in the studio.
Surface disinfectants are used to spray down workstation areas, chairs and trays. Isopropyl (rubbing alcohol) is more for a quick disinfecting of the area you are about to work on, after it has already been thoroughly cleansed. When it comes to needles, microblades and other similar products that puncture the skin that may have blood on it, should be disposed of in a sharps container.
Things in the medium category that can be sprayed or wiped down – like the treatment tray, for example – work well with surface disinfectant sprays. It is important to note that you should follow the instructions on the label for proper usage time to saturate and wipe.
Items in the low category that can be reused and cleaned should be sprayed with disinfectants like isopropyl again. The contact time is not as important for this category, and you can wipe the surfaces down after a minute.
Having a good order to your break down process is very helpful. We would recommend cleaning down in this order;
- Treatment tray
- Massage tables and chairs
- Key surfaces
- Sink and floor
Move from the least contaminated surfaces to the most contaminated, being mindful of the aforementioned categories. Having a clean hand and a dirty hand can help i.e. only using your left hand to touch contaminated items. For that you could also use hand sanitizers.
Cross contamination is a very real threat, so staying present during a break down session is essential. Keep your hands gloved – getting new ones where needed – and removing anything that puts the rest of your equipment at risk.
How Perpetual Permanent Makeup Could Help With Sanitization and Clean Up
All in all, having a great set of supplies and a strong safety routine in place is a guaranteed way to ensure a high quality studio experience. Checkout our website for a full selection of cleaning sterilization and safety supplies:
Thank you for posting this! It’s a perfect guide for people who love makeup. Keep on posting!